Adventures in 3D, Episode 1
After deciding with Bruce to start experimenting with makerscanner, and with my trusty laptop tucked under my arm, we headed to Bruce’s batcave on a cold snowy evening.
We have no wifi in the batcave, so armed with pdf copies of the makerscanner documentation we started our first attempt.
Bruce had already rigged up a jig after reverse engineering the distances between laser and camera from the makerscanner documentation. He’d also found the perfect subject of our first scan: a human skull.
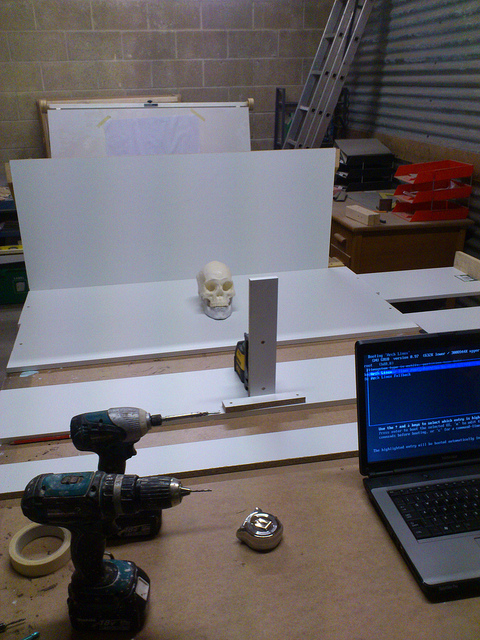
We spent the next hour or so experimenting with different distances, resolutions, lighting etc. and ended up with a fine selection of point clouds. There was a lot of point noise around the skull but at least we’d got a scan.
Without further ado, we ran the point cloud through meshlab to convert the point cloud to a mesh of polygons. In our impatience we didn’t attempt to clean up the point cloud at all, and this resulted in an interesting mesh:
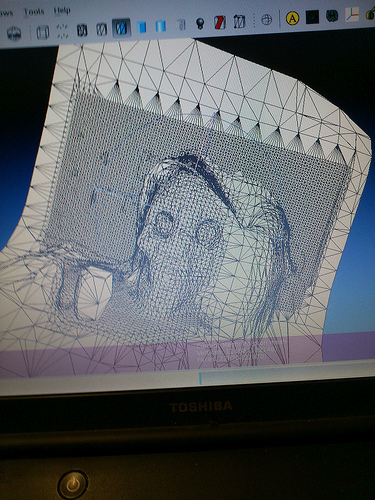
Not quite what we were after and a little bit scary. We spent the rest of the session obtaining more scans of a couple of other objects: a paint bucket and a block of wood, and then decamped for the evening.
Intrigued by the prospect of what would happen if we cleared the point cloud a little, and armed with blender I spent half an hour deleting rogue points from the original scans of the skull. I spent little time on this and then ran it through meshlab again:
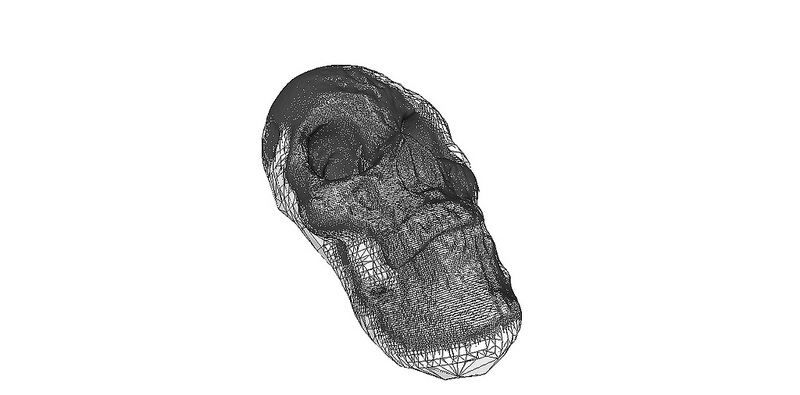
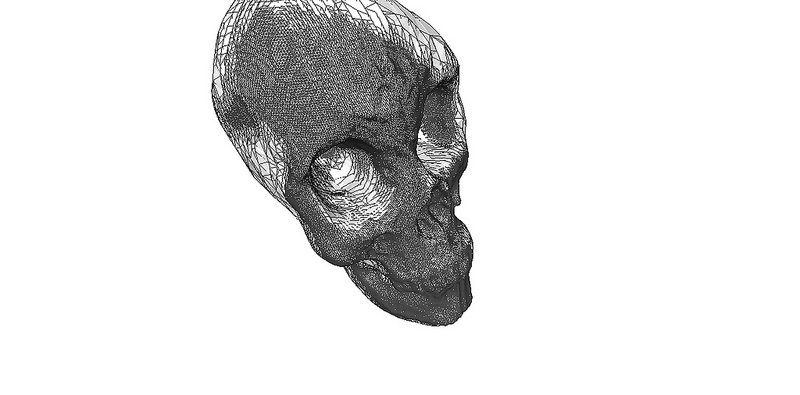
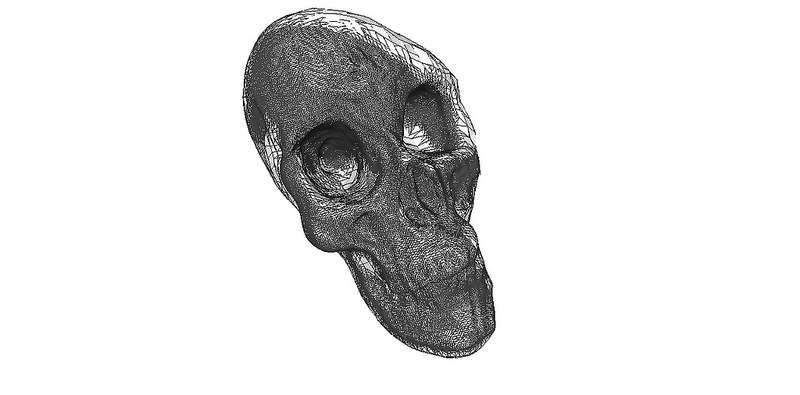
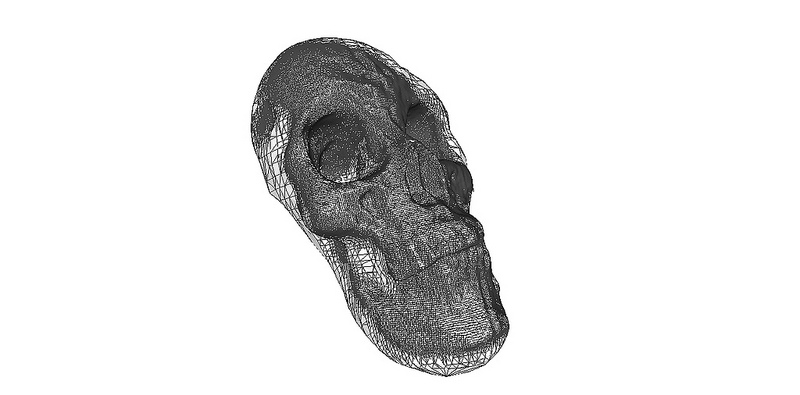
Much better results. Nowhere near good enough for what we need to do, but progress nonetheless.
I also took a bit of video, sorry it’s sideways:
An exciting start to the beginning of the adventure.
Technologies Used In This Episode
- Makerscanner
- Meshlab
- Blender
- Vertical Laser
- Cheapo Webcam
- Arch Linux Laptop